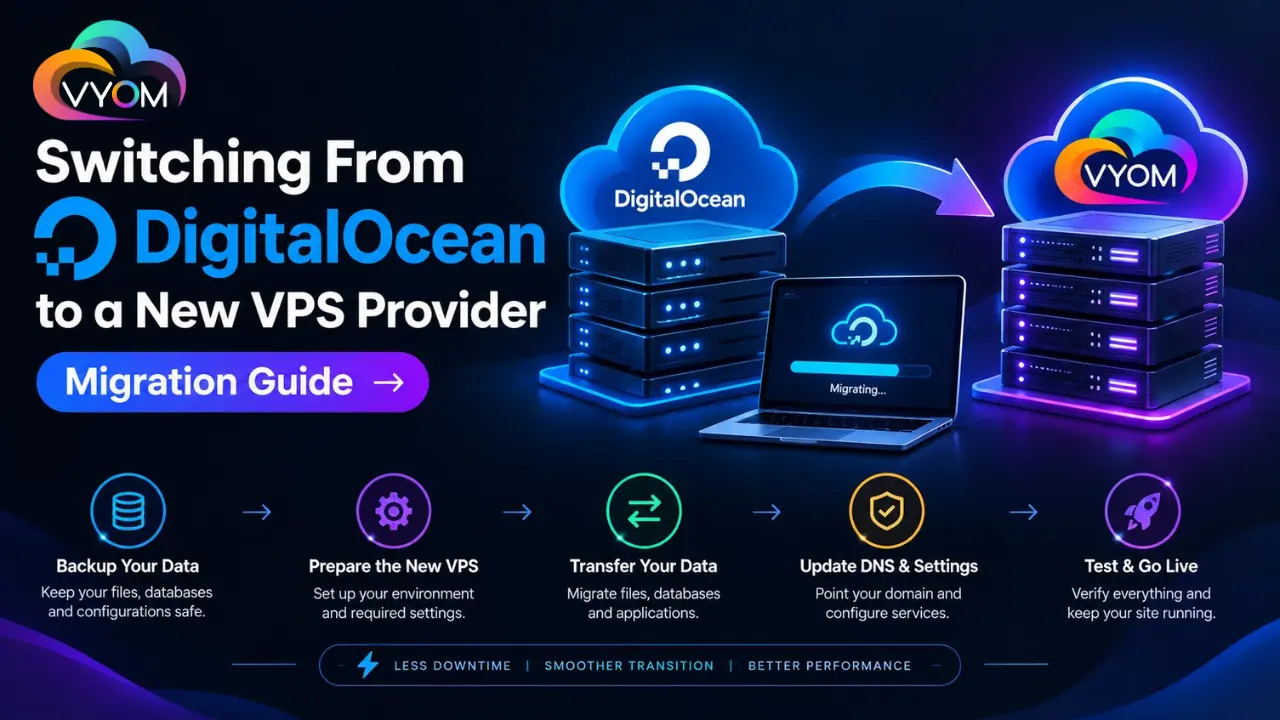
- Switching from DigitalOcean to a New VPS Provider: A Migration Guide
- Why Switch From DigitalOcean to Another VPS Provider?
- Step 1: Audit Your Existing DigitalOcean Server
- Step 2: Choose a Suitable New VPS
- Step 3: Prepare the New Server
- Step 4: Transfer Your Website and Application Files
- Step 5: Migrate the Database
- Step 6: Test Everything Before Changing DNS
- Step 7: Lower DNS TTL Before Migration
- Step 8: Switch DNS and Monitor
- Step 9: Decommission the Old VPS
- Final Thoughts
- Related Reading
- FAQs
- Can I migrate from DigitalOcean to another VPS provider?
- How long does a VPS migration take?
- Will my website experience downtime during migration?
- Should I keep my old DigitalOcean server after migration?
- How do I migrate a database to a new VPS?
- Do I need to change my domain name?
- Should I migrate DNS before moving the website?
- What should I check after migration?
Switching from DigitalOcean to a New VPS Provider: A Migration Guide
Moving a website, application, or database from one VPS provider to another can seem complicated, especially when the existing server is working perfectly well. However, businesses and developers switch providers for many reasons, including pricing, server locations, resource requirements, support, storage options, or changing project needs.
If you are currently using DigitalOcean and planning to move to another VPS provider, the key is to treat migration as a controlled process rather than simply copying files from one server to another.
With proper preparation, you can move applications and data while keeping downtime to a minimum.
Why Switch From DigitalOcean to Another VPS Provider?
DigitalOcean is widely used for developer-focused cloud infrastructure, but no provider is necessarily the right fit for every workload.
You may consider moving because you want:
- Different VPS pricing or billing options
- More RAM or CPU for your budget
- NVMe storage
- A specific data center location
- Managed server support
- Different backup options
- Higher bandwidth allowances
- Additional server management features
- Infrastructure better suited to your application
Before migrating, identify the actual reason for the move. This makes it easier to compare the new VPS against your current setup.
Step 1: Audit Your Existing DigitalOcean Server
Before creating the new VPS, document everything running on your current server.
Make a list of:
- Operating system and version
- CPU and RAM allocation
- Storage usage
- Domains and subdomains
- Web server configuration
- Databases
- Application files
- SSL certificates
- Cron jobs
- Environment variables
- Firewall rules
- SSH users and keys
- Background services
- External integrations
This inventory becomes your migration checklist.
It also prevents the common mistake of discovering an important service only after the old server has been shut down.
Step 2: Choose a Suitable New VPS
Do not select the cheapest replacement automatically.
Compare the new provider against your existing workload. Check CPU, RAM, storage type, bandwidth, operating system choices, server location, backups, network connectivity, support, and upgrade options.
If your current server regularly approaches its RAM or CPU limits, migration is an opportunity to increase resources.
On the other hand, if your existing server is heavily underutilized, you may be able to move to a smaller configuration.
Step 3: Prepare the New Server
Once the new VPS is ready, configure the basic server environment before transferring production traffic.
Typical preparation includes:
- Update the operating system.
- Create required user accounts.
- Configure SSH access.
- Set up firewall rules.
- Install the web server.
- Install the required programming runtime.
- Install database software.
- Configure required services.
- Set up monitoring.
- Install SSL support.
Try to make the new environment as similar as practical to the old server. This reduces compatibility problems during testing.
Step 4: Transfer Your Website and Application Files
There are several ways to move files between VPS servers.
For smaller websites, tools such as rsync or scp can be convenient. Larger applications may use Git-based deployments or automated deployment pipelines.
When transferring files, remember that application data is not always contained in the main website directory.
Check for uploaded files, configuration files, hidden files, storage directories, and application-specific data.
Never blindly copy secrets or credentials without reviewing them first.
Step 5: Migrate the Database
Database migration deserves extra attention.
First, create a reliable backup of the existing database. Then transfer the backup to the new VPS and restore it.
For larger production databases, you may need a more controlled process to reduce downtime. Depending on the database technology and application architecture, replication or incremental synchronization may be useful.
After restoration, verify:
- Tables and records
- Database users
- Permissions
- Character encoding
- Application connections
- Stored procedures or extensions where applicable
A successful database import does not necessarily mean the application is correctly connected.
Step 6: Test Everything Before Changing DNS
This is one of the most important steps.
Test the application on the new server before directing visitors to it.
Check:
- Homepage and important pages
- Login functionality
- Forms
- APIs
- Database queries
- File uploads
- Email functionality
- Background jobs
- Cron tasks
- Payment integrations
- SSL certificates
- Application logs
For websites, you can use temporary host-file configuration or another controlled testing method to access the new server before changing public DNS.
Step 7: Lower DNS TTL Before Migration
If possible, reduce the DNS TTL before the migration.
A lower TTL can help DNS changes propagate more quickly after you update the records. However, DNS behavior depends on caching and resolver policies, so TTL reduction does not guarantee an instant switch for every user.
Keep the old VPS running during the transition.
Step 8: Switch DNS and Monitor
Once testing is complete, update your DNS records to point to the new server.
Monitor the new VPS closely after the change.
Look at:
- CPU usage
- RAM usage
- Disk space
- Application logs
- Web server errors
- Database performance
- Network traffic
- SSL status
Don’t immediately delete the old DigitalOcean server. Keep it available until you are confident that the migration is successful and all required data has been verified.
Step 9: Decommission the Old VPS
After the new environment has been stable for an appropriate period, take one final backup.
Then remove unnecessary resources from the old provider and confirm that no DNS records, integrations, monitoring systems, or scheduled jobs still depend on the old server.
Final Thoughts
Switching from DigitalOcean to a new VPS provider doesn’t have to mean lengthy downtime or a complicated rebuild.
The safest approach is simple: audit, prepare, migrate, test, switch, monitor, and only then decommission the old server.
Taking the time to document your current environment and test the new VPS before changing DNS can prevent many common migration problems.
The migration is also an opportunity to review your infrastructure and choose resources, storage, security, backups, and management options that better match your current requirements.
Related Reading
What is a VPS? A Detailed Guide to Virtual Private Servers
Best VPS Hosting in India 2026 | High-Performance VPS by Vyom Cloud
Also Read: Cheapest VPS Hosting Provider in India [September 2026]
Let’s Get Social:
Facebook: https://www.facebook.com/vyomcloudnetwork/
LinkedIn: https://www.linkedin.com/company/vyomcloud/
Instagram: https://www.instagram.com/vyomcloud/
FAQs
Can I migrate from DigitalOcean to another VPS provider?
Yes. Websites, applications, databases, configuration files, and other server data can generally be migrated to another VPS provider. The exact process depends on your operating system and application stack.
How long does a VPS migration take?
The time varies according to the size and complexity of the server. A small website can potentially be migrated quickly, while large databases, applications, and multi-service environments require more preparation and testing.
Will my website experience downtime during migration?
Downtime can often be minimized by preparing the new server in advance and testing it before changing DNS. Database-heavy applications may require additional planning to keep data synchronized during the final switch.
Should I keep my old DigitalOcean server after migration?
It is generally sensible to keep the old server available temporarily after switching DNS. This provides a fallback while you verify that the new environment is working correctly.
How do I migrate a database to a new VPS?
Create a verified database backup, transfer it to the new server, restore it, configure users and permissions, and test the application’s database connection before switching production traffic.
Do I need to change my domain name?
No. You normally only need to update the relevant DNS records so that the domain points to the new VPS.
Should I migrate DNS before moving the website?
Usually, it is better to prepare and test the new server first. DNS changes can then be made during the final cutover after the new environment is ready.
What should I check after migration?
Check the website or application, database, SSL certificate, DNS, email, APIs, cron jobs, background services, firewall rules, logs, CPU, RAM, storage, and network performance.